NWSR Banner

Sunday, October 21, 2018

Changing An Undermount 33 x 22 Sink To A Top Mount 33 x 22 Sink

The sink in this post is an Americast 33" x 22".  That is a very large sink to undermount but they designed it to be installed either as a top mount or an undermount.  You can see why it is problematic as an undermount if the need arises for you to change the sink without removing the countertops or replacing them entirely.

This is the same scenario for any other sink made from any other material.  The big challenge of this type of sink replacement comes from the 33" x 22" size.

On this one, it has the compounded problem that the sink is 33" wide, but it is installed in a cabinet base that is only 30" so the lip of the sink is resting on the cabinet walls and even when you pry away all of the silicone between the countertop and the sink, the sink does not have the ability to drop down inside the cabinet and be taken out of the bottom of the sink cabinet like you can on other sink replacements.

Having only the option of replacing all of the countertops in the kitchen or getting very determined and creative, the homeowner opted for determined and creative, so I dug in.

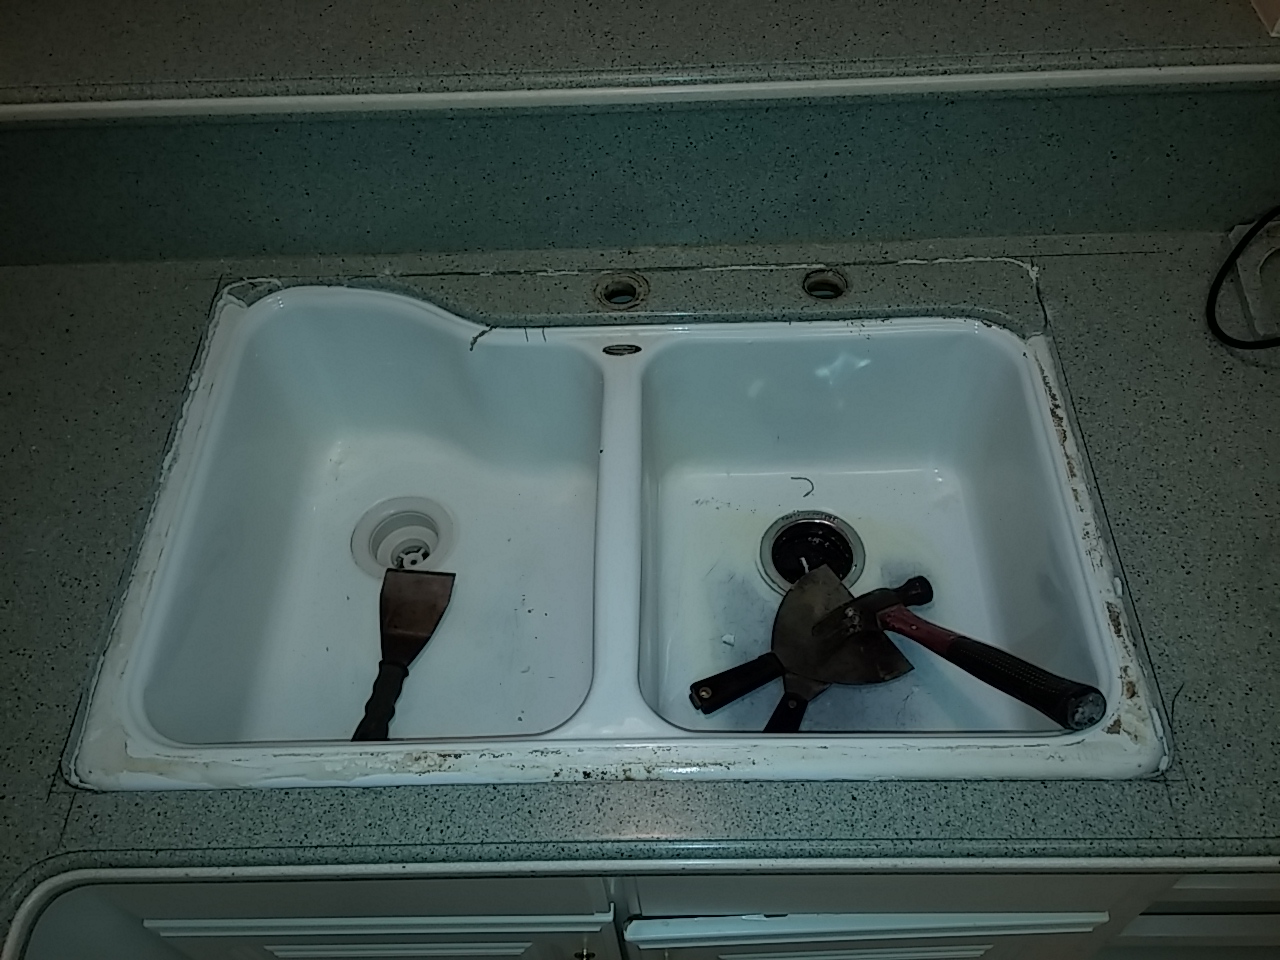
                                          Here's the sink to be replaced.


                                         I am cutting the correct sink cutout for the new top
                                         mount sink that will replace this one.  I am doing
                                         it this way to remove as much of the countertop away
                                         from the existing sink.  This will decrease the likelyhood
                                         of cracking the countertop when seperating it from the sink.


                                                   Here I am trying to show the cabinet wall
                                                   so you can see where the sink bowl is,
                                                   and the sink lip goes under the countertop
                                                   and rests on the cabinet wall.
                                         More cutting
                                         
                                          This sink is really too large for the cabinet, but they
                                          got it in there.


                                                   I had to disassemble all the drawer slides
                                                   for the cabinets on the right hand side of the
                                                   sink, then cut out the cabinet wall giving
                                                   us an "escape hatch" which allows the sink
                                                   drop down and be removed through the
                                                   bottom of the cabinet.
                                                       
                                 
                                         Here is the proper sink cutout, and the old sink is out.
                                       
                                          This is the sink they chose to replace the old one


 On a scale of 4, 4 being the most difficult, this one is a high 3.9.

Changing a 33" x 22" undermount sink to a top mount 33" x 22" sink done by Bryan Dix, Complete Solid Surface Refinishing in beautiful Clemmons, NC

Friday, February 23, 2018

Changing from one solid surface sink to a different model of solid surface sink

The lighting in this room was not very good for taking pictures but here they are.

This is a Gibraltar solid surface sink.  It has bad crazing in the bottom and needs to be replaced.  The home owner wanted to get a different type of sink so we put in another Gibraltar sink that has only the two bowls but not the ledge on the back.  We would have replaced it with the same model but this sink has been discontinued for several years so the was not possible.

Obviously, since this sink has a specific size and shape that will remain the same when we remove the sink, that cutout will need to be changed to accept the installation of the newer model of sink.  This is one of the most labor intensive sink replacements that you can do.  Sort of a worst case scenario, but we turn the worst case into the best result.

These are the layout marks where I will have to cut the countertop to make seams and shrink the sink cutout so I can then mount the new sink and make it appear as an original installation instead of an after thought.

The sink is now removed

I"ve made all the cuts around the sink cutout, straightening the edges so that I can do seams around the sink cutout to reduce the size of the cutout.

You may haveto zoom in to see it but here are the pieces that I am seaming to shrink the cut out size for the new sink.

Ready to install the new sink
Here is the new sink.  It looks like it has lived there since the countertop was originally installed.
The plumber showed up the next morning and they were back in business.